 Scar Gelatine Mould
Equipment-
- Gelatine Mould
- Super colour Pallet
- Fake blood
- Procaine
- Which Hazel
- Powder
-Bruise Wheel
- Fluffy brush
- Cotton buds
- Stipple sponge
In this practical lesson we practised using scar moulds which have been made in a mould from Gelatine.
 To make the Gelatine mould you melt the Gelatine and pour it into the mould, to a tip when creating the mould is to use talcon powder to stop it from sticking to everything.
To stick the mould to the skin you have to use Procaine, you have to use it on the scar and on the skin, once you put the two together they lock and this creates the bond between the skin and the scar. You also have to wait till the glue goes completely see through before sticking them together otherwise the glue will stay white.
Then to blend away the harsh edges with a cotton bud and which hazel, this melts the gelatine to get rid of the harsh edge of the mould, this takes a long time to do this as just have to keep going until it works.
The motion you need to use is a downwards stroke not side to side as this will help it blend in with your skin.
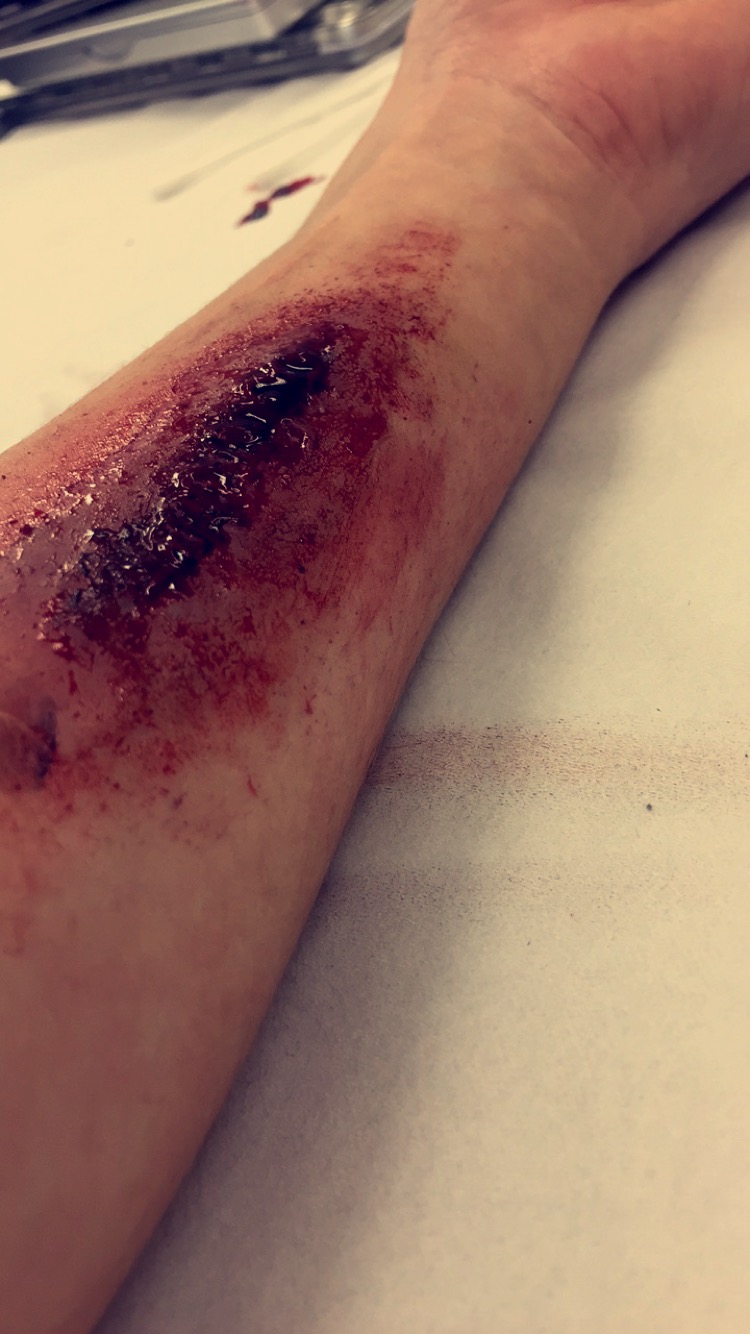
 After I thought I couldn't do much more blending I decided to start the colouring process, I started by powdering it to take the shine away.
After I powdered I then used my bruise wheel to colour it and then used blood on the main part of the scar.
Reflection- Im not sure I really like this way of creating the scar just because I don't think it looks very real, and also its very time consuming because of the blending.
- Fake blood
- Procaine
- Which Hazel
- Powder
-Bruise Wheel
- Fluffy brush
- Cotton buds
- Stipple sponge
In this practical lesson we practised using scar moulds which have been made in a mould from Gelatine.
 To make the Gelatine mould you melt the Gelatine and pour it into the mould, to a tip when creating the mould is to use talcon powder to stop it from sticking to everything.
To stick the mould to the skin you have to use Procaine, you have to use it on the scar and on the skin, once you put the two together they lock and this creates the bond between the skin and the scar. You also have to wait till the glue goes completely see through before sticking them together otherwise the glue will stay white.
Then to blend away the harsh edges with a cotton bud and which hazel, this melts the gelatine to get rid of the harsh edge of the mould, this takes a long time to do this as just have to keep going until it works.
The motion you need to use is a downwards stroke not side to side as this will help it blend in with your skin.
 After I thought I couldn't do much more blending I decided to start the colouring process, I started by powdering it to take the shine away.
 After I powdered I then used my bruise wheel to colour it and then used blood on the main part of the scar.
Reflection- Im not sure I really like this way of creating the scar just because I don't think it looks very real, and also its very time consuming because of the blending.
 ,
,
No comments:
Post a Comment